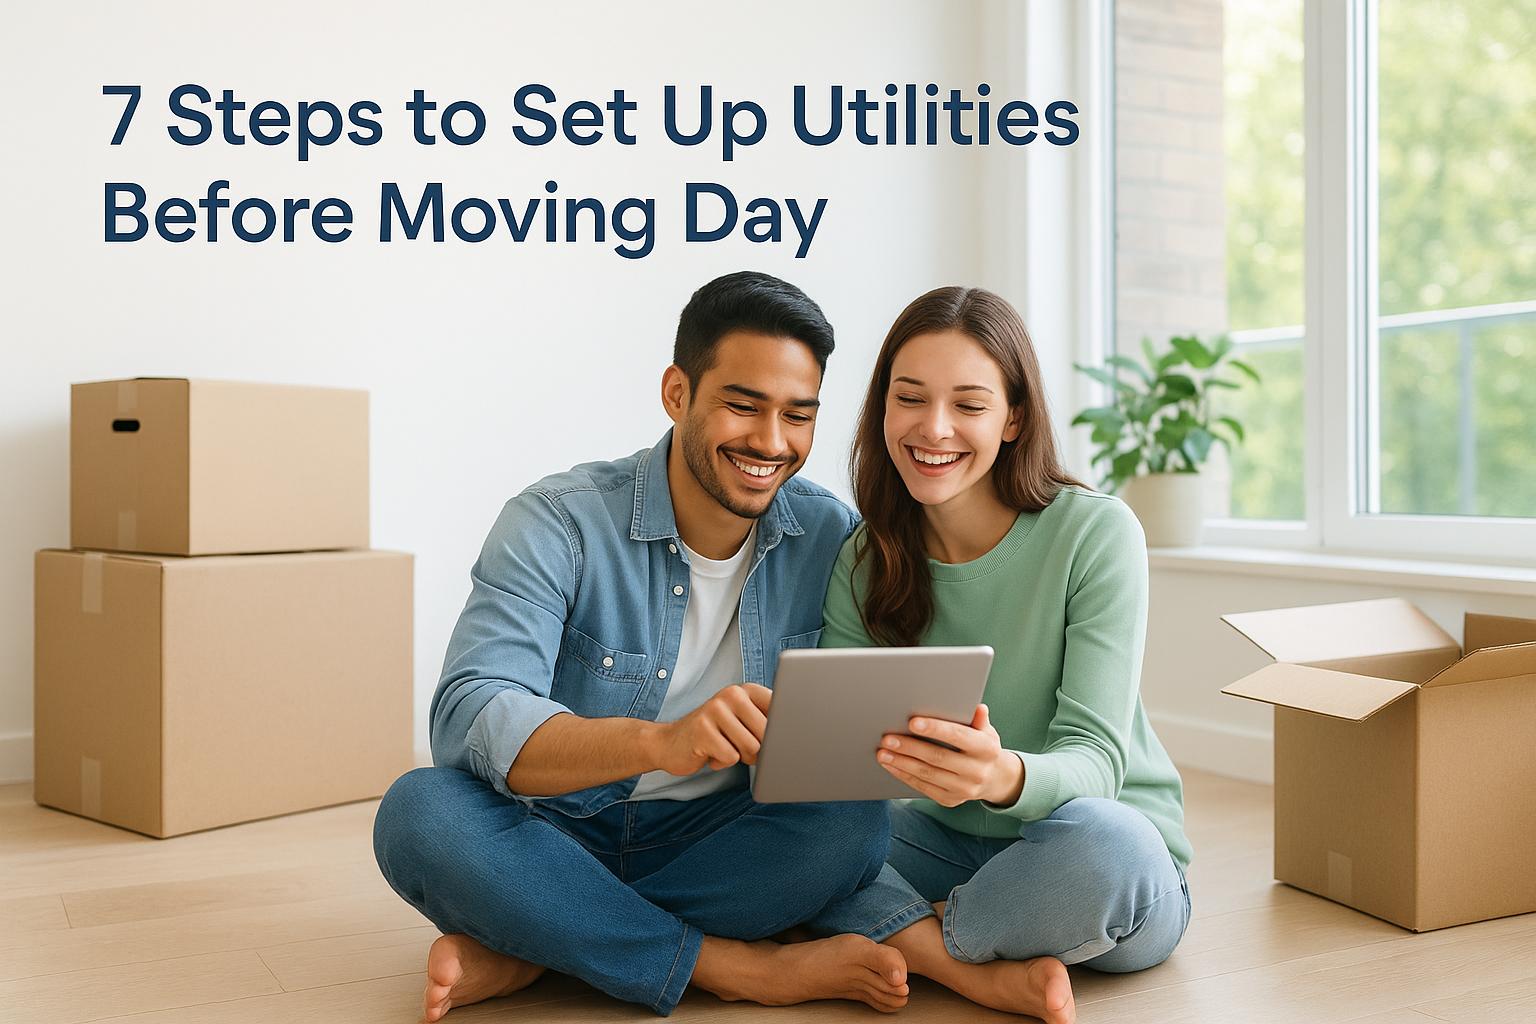
7 Steps to Set Up Utilities Before Moving Day
Moving to a new home? Don’t leave your utilities until the last minute – it can mean cold showers, no lights, and delays getting online. Here’s a quick guide to make sure everything’s sorted:
-
List your utilities: Electricity, water, gas, internet, rubbish collection, heating.
-
Check availability: Confirm what services are offered at your new address.
-
Compare providers: Use tools like Movinghub to find the best deals.
-
Book connections: Aim to have services live the day before you move in.
-
Close old accounts: Notify providers, settle bills, record final meter readings.
-
Set a budget: Plan for monthly costs and one-off setup fees.
-
Verify setups: Be there for installations, record readings, and check everything works.
Start planning 2–4 weeks before moving to avoid stress and make your new place feel like home from day one.
How to Set Up Utilities in New Zealand | Electricity, Water & Internet Guide
Step 1: List the Utilities You Need for Your New Home
Before reaching out to providers, take a moment to jot down all the utilities you'll need. The specific services can vary depending on whether you're moving into a house, apartment, or rental. Sorting out this list early ensures you don’t overlook anything essential.
Basic Utilities to Set Up
Electricity is the first utility you’ll want to organise. It’s indispensable for lighting, running appliances, and powering most systems, even if your home relies on gas for cooking or heating.
Water services are usually managed by your land lord or property manager. If you’re renting, water rates may already be included in your rent - check with your landlord/property manager to confirm [2].
Gas or LPG: Not all homes are connected. Depending on your address, you may use bottled LPG instead. Keep in mind that the government is aiming to phase out gas by 2050, which could lead to rising costs. The Climate Change Commission has been pushing for this transition, and offshore exploration is being discouraged. Switching to electricity or renewable energy systems might be a better long-term option [2].
Internet and broadband have become essential in most households. Unlike electricity or gas, broadband can take weeks to set up, so it’s a good idea to prioritise this early in the moving process.
Rubbish and recycling collection is typically arranged through your local council. In some areas, private companies handle this service, while in others, you may need to take rubbish to designated collection points.
Heating services may need separate consideration, especially if your home uses systems like heat pumps or wood burners. Homes equipped with solar panels or heat pump water heaters might have different electricity or gas requirements [2].
On average, monthly utility costs for an 85m² apartment in New Zealand - covering electricity, heating, cooling, water, and rubbish - come to around NZ$239.20. Internet services add approximately NZ$50 per month [11].
Once you’ve listed your needs, the next step is to confirm which services are available at your new address.
Check What Services Are Available at Your Address
With your utility list ready, it’s time to verify what’s actually available at your new property. Not every home has access to all services, and some may require installation work.
Electricity: To check your options, visit the Electricity Authority website and enter your address to find information like your Installation Control Point (ICP) number, power company, and meter type [6]. You can also contact major retailers directly to confirm service availability [3] [5] [7] [8] [9].
Natural gas: Use the Gas Industry Co website to see if natural gas is connected to your property [3]. Alternatively, energy retailers like Movinghub can confirm this when you provide your address [3]. If natural gas isn’t available, look for an LPG setup, which typically includes bottles, a regulator, and two small pigtails on the side of the house [3].
UtilityFinder NZ offers a detailed map to help you identify all available services for any New Zealand address [4].
Broadband and internet: Movinghub can confirm whether internet is available at your property and whether fibre installation is required [5] [9]. Since broadband setup can take time, checking this early is crucial.
Different property types can also influence your utility needs. For instance, apartments and townhouses often share walls, making them easier and cheaper to heat compared to standalone homes. On the other hand, semi-detached houses and townhouses may share utility infrastructure, which could mean joint responsibilities for maintenance costs [10].
Step 2: Find and Compare Utility Providers
Once you've confirmed the services available in your area, it’s time to compare providers. The goal? Snag the best deals and keep more money in your pocket.
Use Online Comparison Tools
Finding the right provider is about more than just price. Look at:
-
Rates and fees (fixed vs usage-based).
-
Contract lengths and any exit fees.
-
Sustainability options, like renewable energy plans.
-
Customer service ratings and support options.
-
Bundles, e.g. power + broadband, which can simplify bills (but aren’t always cheaper).
You can spend hours comparing providers – or let Movinghub’s team do it for you, making sure you get a deal that suits your household.
What to Look for When Choosing Providers
When comparing providers, dig into the details to uncover the true cost. Pay attention to pricing structures, contract lengths, and any cancellation fees. Some companies may charge a higher fixed fee but offer lower rates for usage, while others reverse this model.
If you’re environmentally conscious, explore green energy plans. Many providers now offer options that deliver 100% renewable electricity. Check the renewable energy percentage listed in each plan to see how sustainable your choice really is.
Customer service is another key factor. Look for providers with a solid reputation for support. Online reviews or recommendations from friends and family can help you gauge which companies are reliable.
Finally, review payment options and billing cycles. Discounts are often available for direct debit payments, and different billing frequencies may suit your budgeting style. Providers with online account management tools can also make it easier to keep track of your usage and payments.
Consider Bundle Deals to Save Money
Bundling utilities - like combining power and broadband into one package - can streamline your bills and customer service. Some providers or third-party services offer these deals, which might include loyalty perks or added convenience. However, bundled plans aren’t always the cheapest choice. Compare the total cost of a bundle with the prices of individual services to decide if the added simplicity is worth it.
Step 3: Book Service Connections and Transfers
Once you've chosen your providers, it's time to schedule your utility connections. This ensures essentials like power, water, and internet are ready to go when you arrive. To streamline the process, gather all the necessary details before making your bookings.
When to Contact Providers
It’s best to contact utility providers at least 30 days before your move. Schedule your new connections to start the day before you arrive at your new home, and arrange disconnections for the day after you leave [1]. Keep in mind that setting up utilities often involves technician visits and some paperwork.
Internet services can be trickier to organise. Broadband installations often take longer than electricity or gas setups, so prioritise contacting your internet provider as soon as possible [2].
Information You’ll Need to Provide
To avoid delays, have the following details on hand when reaching out to providers:
-
Personal details: Your full name, contact number, email address, and a valid ID (like a driver’s licence or passport). You’ll also need your new address and the exact date you want services to begin.
-
Electricity-specific details: If you’re setting up a new electricity connection (rather than transferring an existing one), the process can be more technical. For instance, Vector, a major electricity network provider, requires applicants to specify the type of connection (permanent or temporary), provide contact details for a qualified electrician or consultant, list the number of phases and amp size required, and name the electricity retailer you’ll use once the connection goes live [12]. For new connections, consulting a registered electrician is essential [12].
-
Previous account information: If you’re already a customer with the same provider, having your account number and recent bills handy can make transferring your services much smoother.
Confirm Your Connection Dates
Once your details are submitted, ask for written confirmation of your connection dates. This should include the exact date and time window for activation, along with any requirements for being present during the process.
Some services, like electricity and gas, can often be activated remotely if the infrastructure is already in place. However, new connections or first-time activations usually require a technician visit. Make sure you know whether you or someone else needs to be at home during the connection window.
For internet services, it’s especially important to confirm the installation appointment well in advance. Technicians often need access to your property to install equipment or connect fibre cables, and rescheduling these appointments can be a hassle.
Double-check that both your current and new addresses are recorded correctly to avoid any mix-ups. Address errors are surprisingly common and can lead to frustrating delays.
Finally, save all confirmation emails and reference numbers. These will come in handy if any issues arise on moving day.
Step 4: Close Your Old Utility Accounts
Closing your old utility accounts might not be the most exciting part of moving, but it's a step you can't afford to skip. Handling this properly ensures you won't end up paying for utilities at both your old and new homes - or worse, dealing with surprise charges long after you've settled in.
Notify Your Current Providers
Reach out to your utility providers at least two weeks before your move to schedule disconnection. This gives them enough time to process your request and avoids last-minute hiccups. When you call, have your account number handy, along with the exact date you want services disconnected and your forwarding address for final bills.
Make sure to clear any outstanding balances before you move. Many providers won't disconnect services if your account is overdue, and unpaid bills can follow you to your new address. Request a final statement to be sent to your new home so you can double-check all charges.
To avoid service interruptions caused by delays, schedule disconnection for the day after your move. Sure, you might pay for an extra day, but it’s a small price for peace of mind.
If you're sticking with the same utility company at your new address, ask about account transfers. This can save you the hassle of closing one account and opening another. Plus, you might retain any loyalty perks or special rates you've earned.
Don’t forget to cancel any automatic payments tied to your old accounts after receiving your final bills. Otherwise, you could end up paying for services you no longer use.
Once everything is arranged, the next step is to record your final meter readings.
Record Final Meter Readings
Recording your final meter readings ensures you’re only charged for what you’ve used. Do this on your last day in the property, ideally right before handing over the keys.
For electricity meters, note all the numbers, including decimals, and take a photo for backup. If you have a digital meter, it might cycle through different displays - make sure you’re recording the total kilowatt hours (kWh) used.
Gas meters usually show usage in cubic metres. Again, record all numbers, including decimals, and snap a photo. If the meter is in a tight spot, use your phone's flashlight to get a clear view.
Finding water meters can be trickier. They're often located near the street boundary or hidden under a cover in your front yard. The reading is typically in cubic metres or litres. If you’re unsure where to find it, contact your provider for help.
Submit your readings within 24 hours and save any confirmation receipts. Most providers allow submissions online, through their apps, or over the phone.
If a technician needs to visit for disconnection, they’ll take their own final readings. However, having your own records can be a lifesaver if there are discrepancies. Compare their readings with yours and address any significant differences immediately.
Finally, ask for written confirmation of your final readings and account closure from each provider. This documentation is your safety net if billing issues pop up later down the line.
Simplify Your Move with Movinghub
Connect utilities, change your address, and compare home services all in one place. Join thousands of users and property professionals using our platform to save time and money.

Step 5: Plan Your Utility Budget
Once your utility connections and disconnections are sorted, the next step is to create a budget. This will help you avoid any financial surprises during your move. A well-planned budget ensures you're prepared for both ongoing utility bills and any one-time setup costs that might pop up.
Moving can get expensive quickly, and utilities are often an overlooked expense. By reviewing your monthly bills and setup fees in advance, you can sidestep any unexpected charges.
Calculate Your Monthly Utility Costs
Start by going through a few months of your current utility bills. This will give you a general idea of your usage patterns. However, remember that costs at your new home might differ depending on factors like the size of the property, insulation quality, and local utility rates.
Electricity is often one of the biggest utility expenses. How much you use will depend on your home's size, the number of appliances you have, and the season. For gas, your bill will depend on both the type of connection and how much you use. If you're unsure, past bills or estimates from providers can give you some guidance.
Water charges can vary significantly between councils, so check with your local authority for specific rates. For internet and phone services, compare plans based on your household's data needs to ensure you're getting the best deal.
Budget for Setup Costs
Aside from your regular utility bills, you’ll need to account for one-off setup expenses. These can include connection fees, installation charges, and equipment costs.
For standard properties, these fees are usually minimal. However, if you're moving into a new build or a home that requires infrastructure upgrades, the costs could be higher. Some utility providers may also ask for a security deposit if you're a new customer. This deposit is often refundable after a certain period of on-time payments.
Internet and phone services might also come with installation fees, particularly if upgrades to the existing infrastructure are required. Additionally, if you’re under contract with your current provider for services like broadband or mobile, you might face early termination fees. Be sure to review your contract terms before making any changes.
You'll also need to budget for equipment like modems, set-top boxes, or smart meters. To make things easier, consider setting aside a dedicated fund for these initial utility expenses. This will give you a financial cushion for any unexpected costs. Don’t forget to keep all your setup receipts - if you’re moving for work, some of these expenses might be tax-deductible.
To manage cash flow better, try to stagger installation appointments over a few weeks instead of doing everything at once.
Step 6: Check Installations and Record Starting Readings
Making sure your utilities are set up correctly from the start is key to avoiding billing headaches later. Double-check installations and document your initial meter readings to ensure everything is accurate from day one.
Be Present for Service Installations
It’s important to be home when technicians come to install or activate your utilities. This gives you the chance to oversee the process, ask any questions, and confirm that everything is set up correctly.
For electricity and gas, technicians often need access to your meter box or the inside of your home to complete the setup. If they can’t access what they need, you might face delays that could push back your move-in timeline. Water connections are usually handled at the street or the meter, but being available can still help in case any issues crop up.
Internet and phone installations tend to be the most involved. Technicians may need to run cables, set up modems, or install equipment in specific areas of your home. Being present allows you to decide where equipment should go and confirm that everything is working properly before they leave.
If you can’t be there, arrange for someone you trust to oversee the installations. Make sure they have your contact information, know what services are being installed, and are authorised to make decisions on your behalf if necessary.
If something goes wrong: Contact your utility provider immediately to address the problem. If the issue isn’t resolved, you may need to escalate it to Utilities Disputes or the Electricity Authority.
Once installations are complete, the next step is to document your initial meter readings.
Take Starting Meter Readings
Recording your meter readings on move-in day is crucial. These readings establish your usage from the start, ensuring you don’t get billed for what the previous occupant used.
-
Electricity meters: Write down the displayed reading. If your meter tracks different rates (like day and night usage), record each reading separately.
-
Gas meters: These usually display readings in cubic metres. Note the numbers from left to right, ignoring any red digits or numbers after the decimal point.
-
Water meters: Typically located near the street or property boundary, water meters show readings in cubic metres or litres. Record the black numbers only, skipping any red ones that represent smaller units.
Take clear photos of each meter, making sure to include the serial number. This gives you a timestamped record of your starting readings. Submit these readings within 48 hours of moving in, either through your provider’s website, app, or by phone.
Keep a record of when you submitted the readings and save any confirmation numbers you receive. These documents can be very useful if you ever need to dispute a bill. While some providers may send a technician to take an official reading, having your own records ensures accuracy.
Before the technician leaves, quickly test that all installed services are working as expected. This final check can save you from having to troubleshoot later.
Step 7: Use Movinghub to Simplify Your Utility Setup

After your installations are verified and readings recorded, the next step is to simplify your utility setup. Dealing with multiple providers can feel like an overwhelming task, especially when you're already juggling the chaos of moving house. That’s where Movinghub steps in, offering a one-stop service to manage all your utility connections. It’s designed to make your move smoother and less stressful.
How Movinghub Makes Moving Easier
Movinghub is a free service that connects you with utility providers while helping you find better deals - all without the hassle of endless phone calls and appointments [13][15]. Through its platform, you can arrange connections for electricity, gas, LPG bottles, phone, broadband, SKY TV, and water. Plus, they go beyond the basics by offering extra services like removals, cleaning, insurance, and security [15][16].
Instead of spending hours comparing rates and services, Movinghub’s comparison tools do the heavy lifting, helping you find the best deals from trusted providers [14][15].
What makes Movinghub stand out is their team of movologists - moving experts who guide you through every step. These professionals can answer your questions, help you navigate different providers, and resolve any issues that might pop up during the setup process.
By coordinating with multiple utility companies on your behalf, Movinghub takes care of the nitty-gritty details. You won’t need to worry about tracking installation dates, juggling contact numbers, or managing account setups - a huge relief when time is tight and your to-do list is long.
Get Local Help with Your Move
For Kiwi movers, Movinghub offers local expertise tailored to New Zealand’s unique needs. Their team understands which providers operate in specific areas, how long connections typically take, and the nuances of regional utility processes.
Because of their strong relationships with local providers and knowledge of the regulatory landscape, Movinghub is especially helpful if you’re moving to a rural area with limited options or switching between regions with different networks. This local insight ensures a seamless transition, no matter where you're headed.
One of the biggest advantages? Movinghub becomes your single point of contact for any connection issues. Instead of chasing down multiple companies, you can rely on their team to troubleshoot problems quickly, keeping your move on schedule.
Beyond utility setup, Movinghub integrates other essential moving services into its platform. From arranging removalists to booking cleaning services and securing home insurance, you can handle it all in one place. This all-in-one approach saves time and makes the moving process far less stressful.
Conclusion: Plan Ahead for a Smooth Move
Getting your utilities sorted before moving day doesn’t have to be stressful - starting early makes all the difference. Ideally, begin this process 2 to 4 weeks before your move. This gives you plenty of time to research providers, compare deals, and avoid those last-minute headaches [2][19][20].
Think of these seven steps as your guide. By syncing your utility connections with your moving timeline, you’ll avoid paying for services you’re not using and ensure everything’s ready when you arrive.
Planning ahead can also save you money. For example, households that compare electricity and gas plans can save over $400 on average. Plus, you’ll sidestep common issues like double billing or moving into a home without essentials like power or internet [17].
Make utility setup a key part of your moving checklist. Arrange to have services at your old home shut off the day after you move out, and schedule connections at your new place for the day before you arrive [18][19]. This way, you’ll have everything you need for last-minute tasks at your old place and a smooth start in your new home.
With a little preparation and the right steps, you can focus on settling in - without worrying about service interruptions. A well-planned move makes all the difference.
FAQs
What should I do if utilities aren't set up or available at my new home?
If you arrive at your new home in New Zealand and discover that essential utilities like electricity, water, or gas aren't available, your first step should be to reach out to the utility provider. Check whether the service activation is already scheduled or if there's a specific issue, such as a network fault, that needs attention. Most providers have customer service teams ready to handle these kinds of queries.
Should the issue remain unresolved, consider escalating it by filing a formal complaint or requesting urgent assistance. Acting quickly can help get your utilities up and running sooner, reducing any disruptions during your move.
How can I set up utilities in a way that's eco-friendly and cost-effective for the long term?
To design a utility setup in New Zealand that's easier on both the planet and your wallet, start by looking into renewable energy options like solar power. Many local councils offer incentives that can make switching to solar more affordable. Pair this with energy-efficient appliances and better home insulation to cut down on electricity use and heating expenses throughout the year.
Water-saving tools, such as low-flow taps and showerheads, are another smart addition. For heating and cooling, consider solutions like heat pumps, which are efficient and effective. You could also embrace passive design techniques, such as using natural light and ventilation to keep your home comfortable while reducing energy use. These practical changes can make a noticeable difference, helping you save money and live more sustainably in the long run.
What should I do if my utility bills seem incorrect after moving?
If your utility bills seem off after a move, your first step should be to reach out to your utility provider. Have your account details and any relevant paperwork, like past bills or service agreements, ready to help explain your case clearly.
If the issue persists and isn't resolved, you can take it up with the Utilities Disputes service. This service helps with complaints related to electricity, gas, water, and broadband services in New Zealand. To prevent similar problems in the future, make sure your accounts were properly transferred or set up during your move. Also, keep a record of all interactions with your provider for your reference.